Tuesday, October 27, 2015

Hollandaise and Maltaise Sauce

This post focuses on hollandaise, a heart-stoppingly rich sauce that is usually made by hand, and has to be kept warm in order to hold the emulsion. An emulsion is an oil + anything that is not an oil, forced together into a blend. Think about oil and vinegar: these two things will always separate. In order to bond them, an emulsifier, like mustard or lecithin (from egg whites) is used. The most common emulsions are mayonnaise (a semi-permanent emulsion), bottled vinaigrette dressing (oil + vinegar).
For hollandaise and maltaise sauces, egg yolks are forced into a bond with wine vinegar and clarified butter. The mixture is hand whisked for about 30-40 minutes as the three ingredients are added, drop by drop. To serve the sauces, we peeled some white and green asparagus and blanched them for a few seconds.
I was tasked with working a maltaise sauce - a hollandaise base with orange reduction and orange zest instead of red wine vinegar. Below is some orange zest that I blanched.
Chef demonstrating how the color of the egg yolks changed as you whisk them.
Then he demonstrated how to drizzle the butter into the mixture drop by drop.
Meanwhile, since everyone was using the burners for round 1 of hollandaise, I was making the orange reduction at the work tables. To do this, I squeezed 6 oranges, reduced the juice in a saucepan for about 15 minutes until it became syrup, and reserved it for the maltaise.
Starting the hollandaise base for the maltaise sauce:
Meanwhile, I boiled my asparagus for a few seconds.
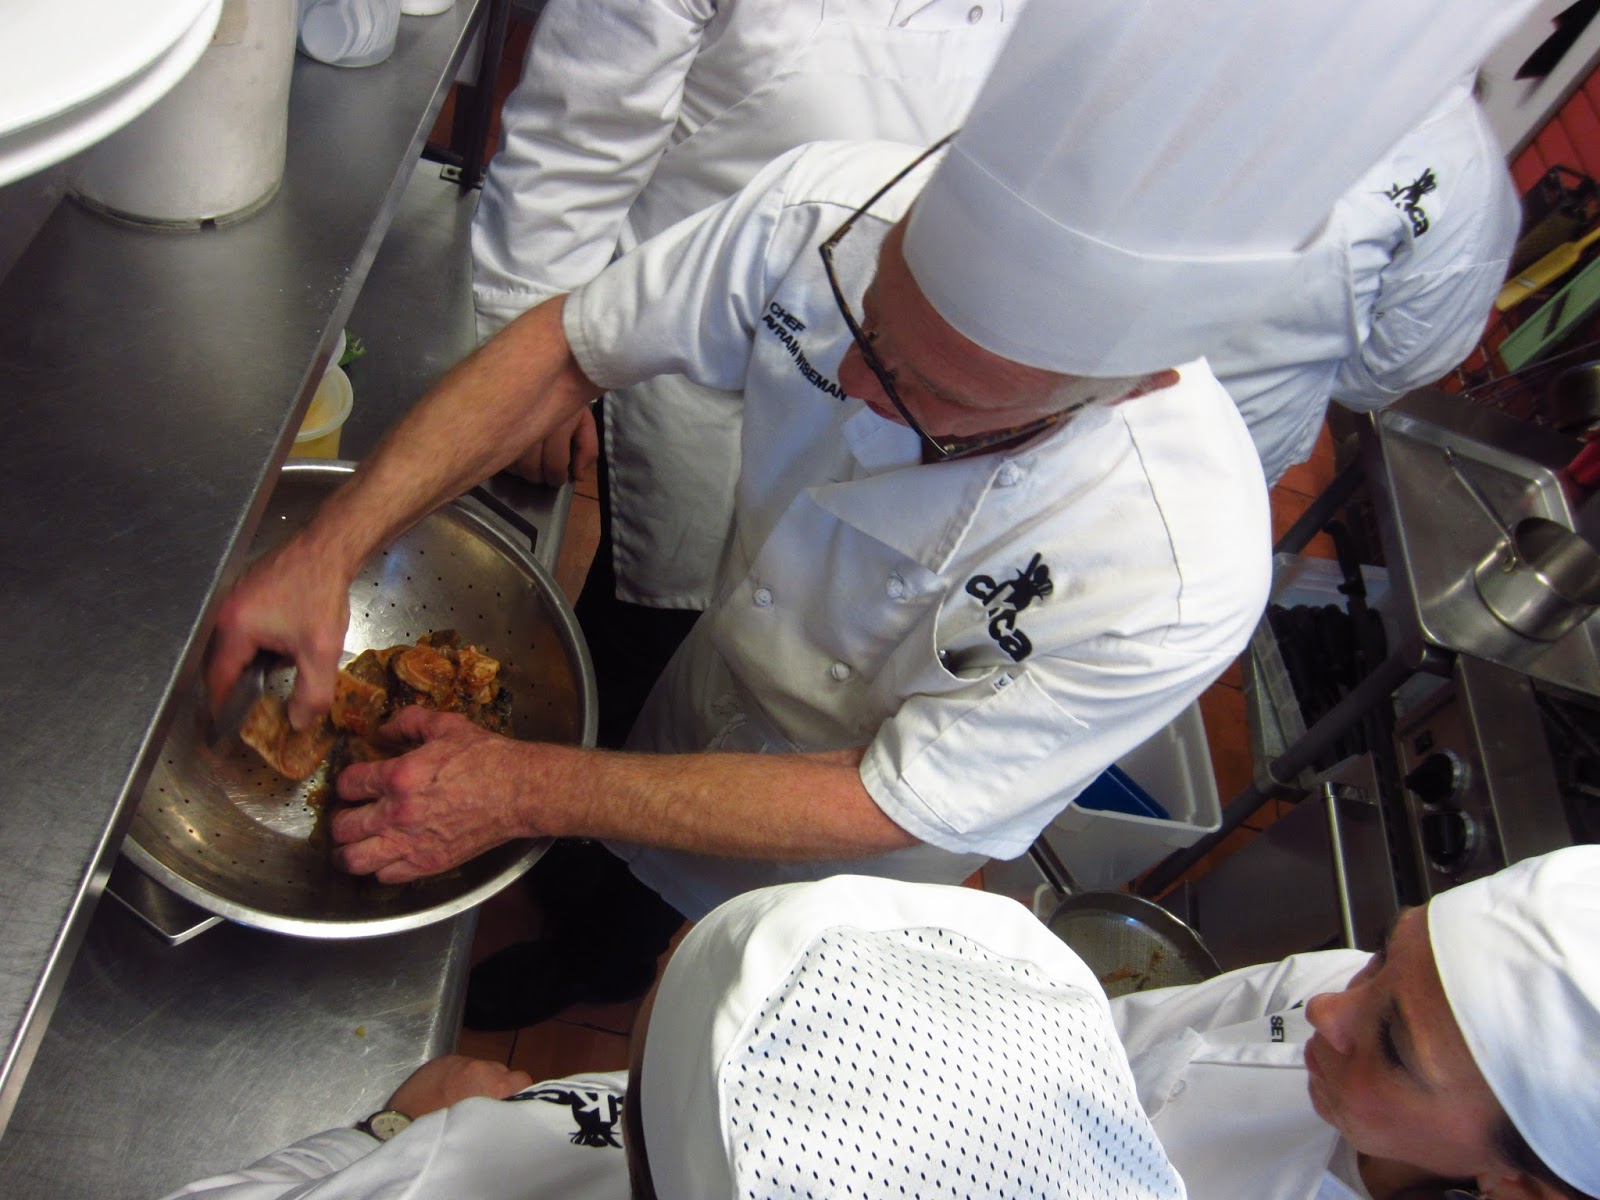
Chef demonstrating how to fix a broken hollandaise. It's a combination of adding heat or warm water or warming up or cooling down the bowl to get the consistency back.
Below, my finished plate with asparagus, maltaise sauce, and orange reduction droplets.
  
------
Maltaise Sauce

2 lg egg yolks
 1 TB fresh lemon juice
salt and pepper to taste
1/4 c unsalted butter, melted and cooled
1 tsp orange zest
1 tsp cayenne pepper
1 1/2 TB fresh orange juice, reduced by half

Whisk the egg yolks by hand and add a little orange reduction to the bowl by drops. Whip the mixture until it is pale yellow.
Place a bowl over a double-boiler or pot of boiling water. 
Whisk the mixture until it coats the back of a spoon.
Remove from double boiler and whisk in the butter, drop by drop until the yolk mixture thins out and you have fluid ribbons when you lift the whisk out of the bowl.
Add the lemon juice, cayenne pepper, salt and black pepper if needed.
Keep very warm (not hot and not cold) so the sauce doesn't separate.
Discard after 45 minutes if not used.

 Serve with vegetables or poaches eggs.

Enjoy!

Monday, October 26, 2015

Using Brown Stock and Pastry Domes

Remember that brown stock we made? This stock is going to be strained, and reduced or used as is. Three things we would do with the stock are espagnole sauce, demi-glace, and using it as a base for a few soups.
The first step to straining the stock is to gather around the stove and watch someone else do it. (Kidding!) Chef was demonstrating the two steps for straining: first through a colander, to separate the large bones and pieces of vegetables, and then through a china cap (also called a chinois). If you want to really go into it, strain a third time through a fine chinois.
Here, we are removing the strained bones. It is at this step that nibbling happens in your own kitchen.
Classmate Yitzi
Bonnie getting ready to strain the ladies' pot of stock.
Below, espagnole sauce, made with a few quarts of the veal stock, tomato puree, carrotsonioncelery, and roux (flour+butter). This mixture is reduced by half and strained again to yield a rich, deeply flavored meat sauce.
You can do few other things with the strained veal stock:
Demi-glace: equal parts stock + espagnole sauce, reduced by half and strained
Glace du Viande (meat glaze): veal stock reduced by 80% for the thickest, richest sauce you've ever tasted (this one we didn't do)
Use the stock as a base for soups, rice, cocktails

Classmate Bracha slicing stew beef for the mushroom barley soup.
Another recipe the class was working on was French Onion Soup. In the kosher world, we cannot have gooey, melty cheese in our meat-base soups, we have to find alternate ways to serve this dish that are just as elegant as the non-kosher version: steaming hot bowl of soup with melted mozzarella cheese dripping off the edges of a crusty piece of bread floating on the surface of the soup.
So instead of that, chef showed us how to present soup with a pastry dome. The first step is to make the onion soup and keep it steaming hot. Cut a circle of pastry to fit the ramekin or oven-safe dish you are using (since you will be putting this in the oven for ~20 minutes). 
Next, we brush the top of the pastry circle with egg yolk and put a little around the edge of the ramekin.
With the leftover pastry dough, you can cut shapes with a cookie or fondant cutter, or a regular knife. This is chef's leaf design before oven:
...and after oven.
This is mine! I cut flower shapes out of pastry and to my surprise, they puffed up in the oven and they look like little cream puffs!
Some of the class' soup puffs.
Another view of mine:
We achieved this effect by using steaming hot soup and baking the dish in the oven. The steam from the soup puffs and cooks the pastry from below and the oven takes care of the top. It is imperative that the seal between the pastry dough and the ramekin have no holes and is even all the way around, so you don't get a deflated dome.

------

French Onion Soup with a Pastry Dome
*it is recommended that you use real stock for this - though it could be beef, veal, or a combination of the two.*
 3 1/4 pounds of white onions
3 ounces of clarified margarine or olive oil
1 TB flour
 7 cups veal or beef stock
 3 cups hot water
1 sheet puff pastry, frozen
3 egg yolks

In a large, preheated saucepan, cook the onions in the margarine/oil until they are golden brown, about 30 minutes. 
Sprinkle the flour into the pan with the onions and cook for 3 minutes.
Next, add the hot water and stock and bring to a boil.
simmer on low heat for about 20 minutes, covered.
Ladle the soup into oven-safe single-portion dishes.
Cut a round and additional shapes out of the frozen pastry and brush it and the rim of your dish with the egg yolks. Make sure it's sealed up tight.
Into your preheated oven (350), place your dishes in the middle of the oven and bake for 20 minutes, or until the top of your dough turns golden brown.

Want to make this dairy? Substitute the following:
Butter for margarine
Mushroom or vegetable stock for veal stock

Enjoy!

Friday, October 23, 2015

Brown Stock and Mango Salsa

In this series, we learned how to split bones, make brown stocks and sauces, and then switch gears to a more modern sauce, mango salsa. 
 
Here, Chef demonstrates which bone we will be cutting. Since this class was right after the Jewish holidays, there was a shortage of cut bones in the kosher world so we got whole bones instead (for class materials).
Classmate Josh with the bone saw, and he looks a little more than happy with it
Classmate Esther with the cleaver. Watch out.
Success!
As part of one brown stock team, I made the sachet d'epices (spice bag) with parsley stems, bay leaves, thyme, and white peppercorns.

Below, chef checks on how brown our bones were getting. The trick to a nice, rich brown sauce is to brown the bones in the oven or on a pan first.
To draw out even more color, we brushed them with tomato puree. The acid in the tomatoes draws out the moisture in the bones.
Next we placed out mirepoix (carrotsonioncelery) in the oven to brown on a tray.
Finally, classmate Naomi burned some onions, to add to the stock for color.
We checked our mirepoix and bones. When they were done, we dumped them all into our  enormous stock pot.
Then we deglazed the pans the bones were on with some hot water, cleaning the pans. Then we dumped this water into the stock pot.
The goop baked on the bottom of the pan is called "fond."
You'll see my spice bags hanging over the edge as we filled the pot with deglaze and water.
Then we moved on to the mango salsa:
The proper way to cut a mango (though there are several right ways) is to cut slices on each side of the pit and then trim away the flesh from the pit. We diced our ingredients (green onion, red pepper, shallot, green pepper) and mixed in a bowl.
Another classmate was preparing grilled chicken breasts under which to serve the mango salsa. According to health and safety regulations, cooked chicken must be at least 165 degrees F to be served. This piece needed a little more time.
Finally, we eat!
Our stock would sit overnight for use in brown sauces and soups the next day!


------
Mango Salsa
1/2 medium red onion
1 ripe mango
1/2 red bell pepper
4 green onions, finely minced
1/4 cup cilantro (if you can stomach it. I leave it out)
juice of half a lime (1TB)
2 tsp olive oil
1 TB clover honey
1 tsp white vinegar
1/4-1/2 tsp cumin
1/2 jalapeno pepper, seeds removed
if you want it extra spicy, leave in the seeds and membrane
sea salt, for garnish


Mix all the ingredients in a small bowl and chill in fridge for at least 1 hour and up to 3 days. This will let the flavors marinate together. When ready to serve, top salsa with a few grains of sea salt.